
It comes with its own resealable bag! But there's four other people who are not as careful about moving and storing it as me.
Cooled cooked rice tends to be drier and harder - not a good texture for making onigiri or sushi with! For other things like reusing leftover rice for fried rice, it works well enough.
Silver's Kitchen Countertop
Moderator: Ryvvi
17 posts
• Page 2 of 2 • 1, 2
Re: Silver's Kitchen Countertop
![]() by silverberry » Fri Mar 29, 2024 3:01 am
by silverberry » Fri Mar 29, 2024 3:01 am
-

- silverberry
- Local time: Mon May 20, 2024 2:45 am

They/them
Hangout Thread | CK Art Album
Images used belongs to Windlyn and their artists - slightly edited to prevent confusion for current event.
Re: Silver's Kitchen Countertop
![]() by silverberry » Mon Apr 08, 2024 5:56 am
by silverberry » Mon Apr 08, 2024 5:56 am
Sushi
Vinegared Rice Rolls
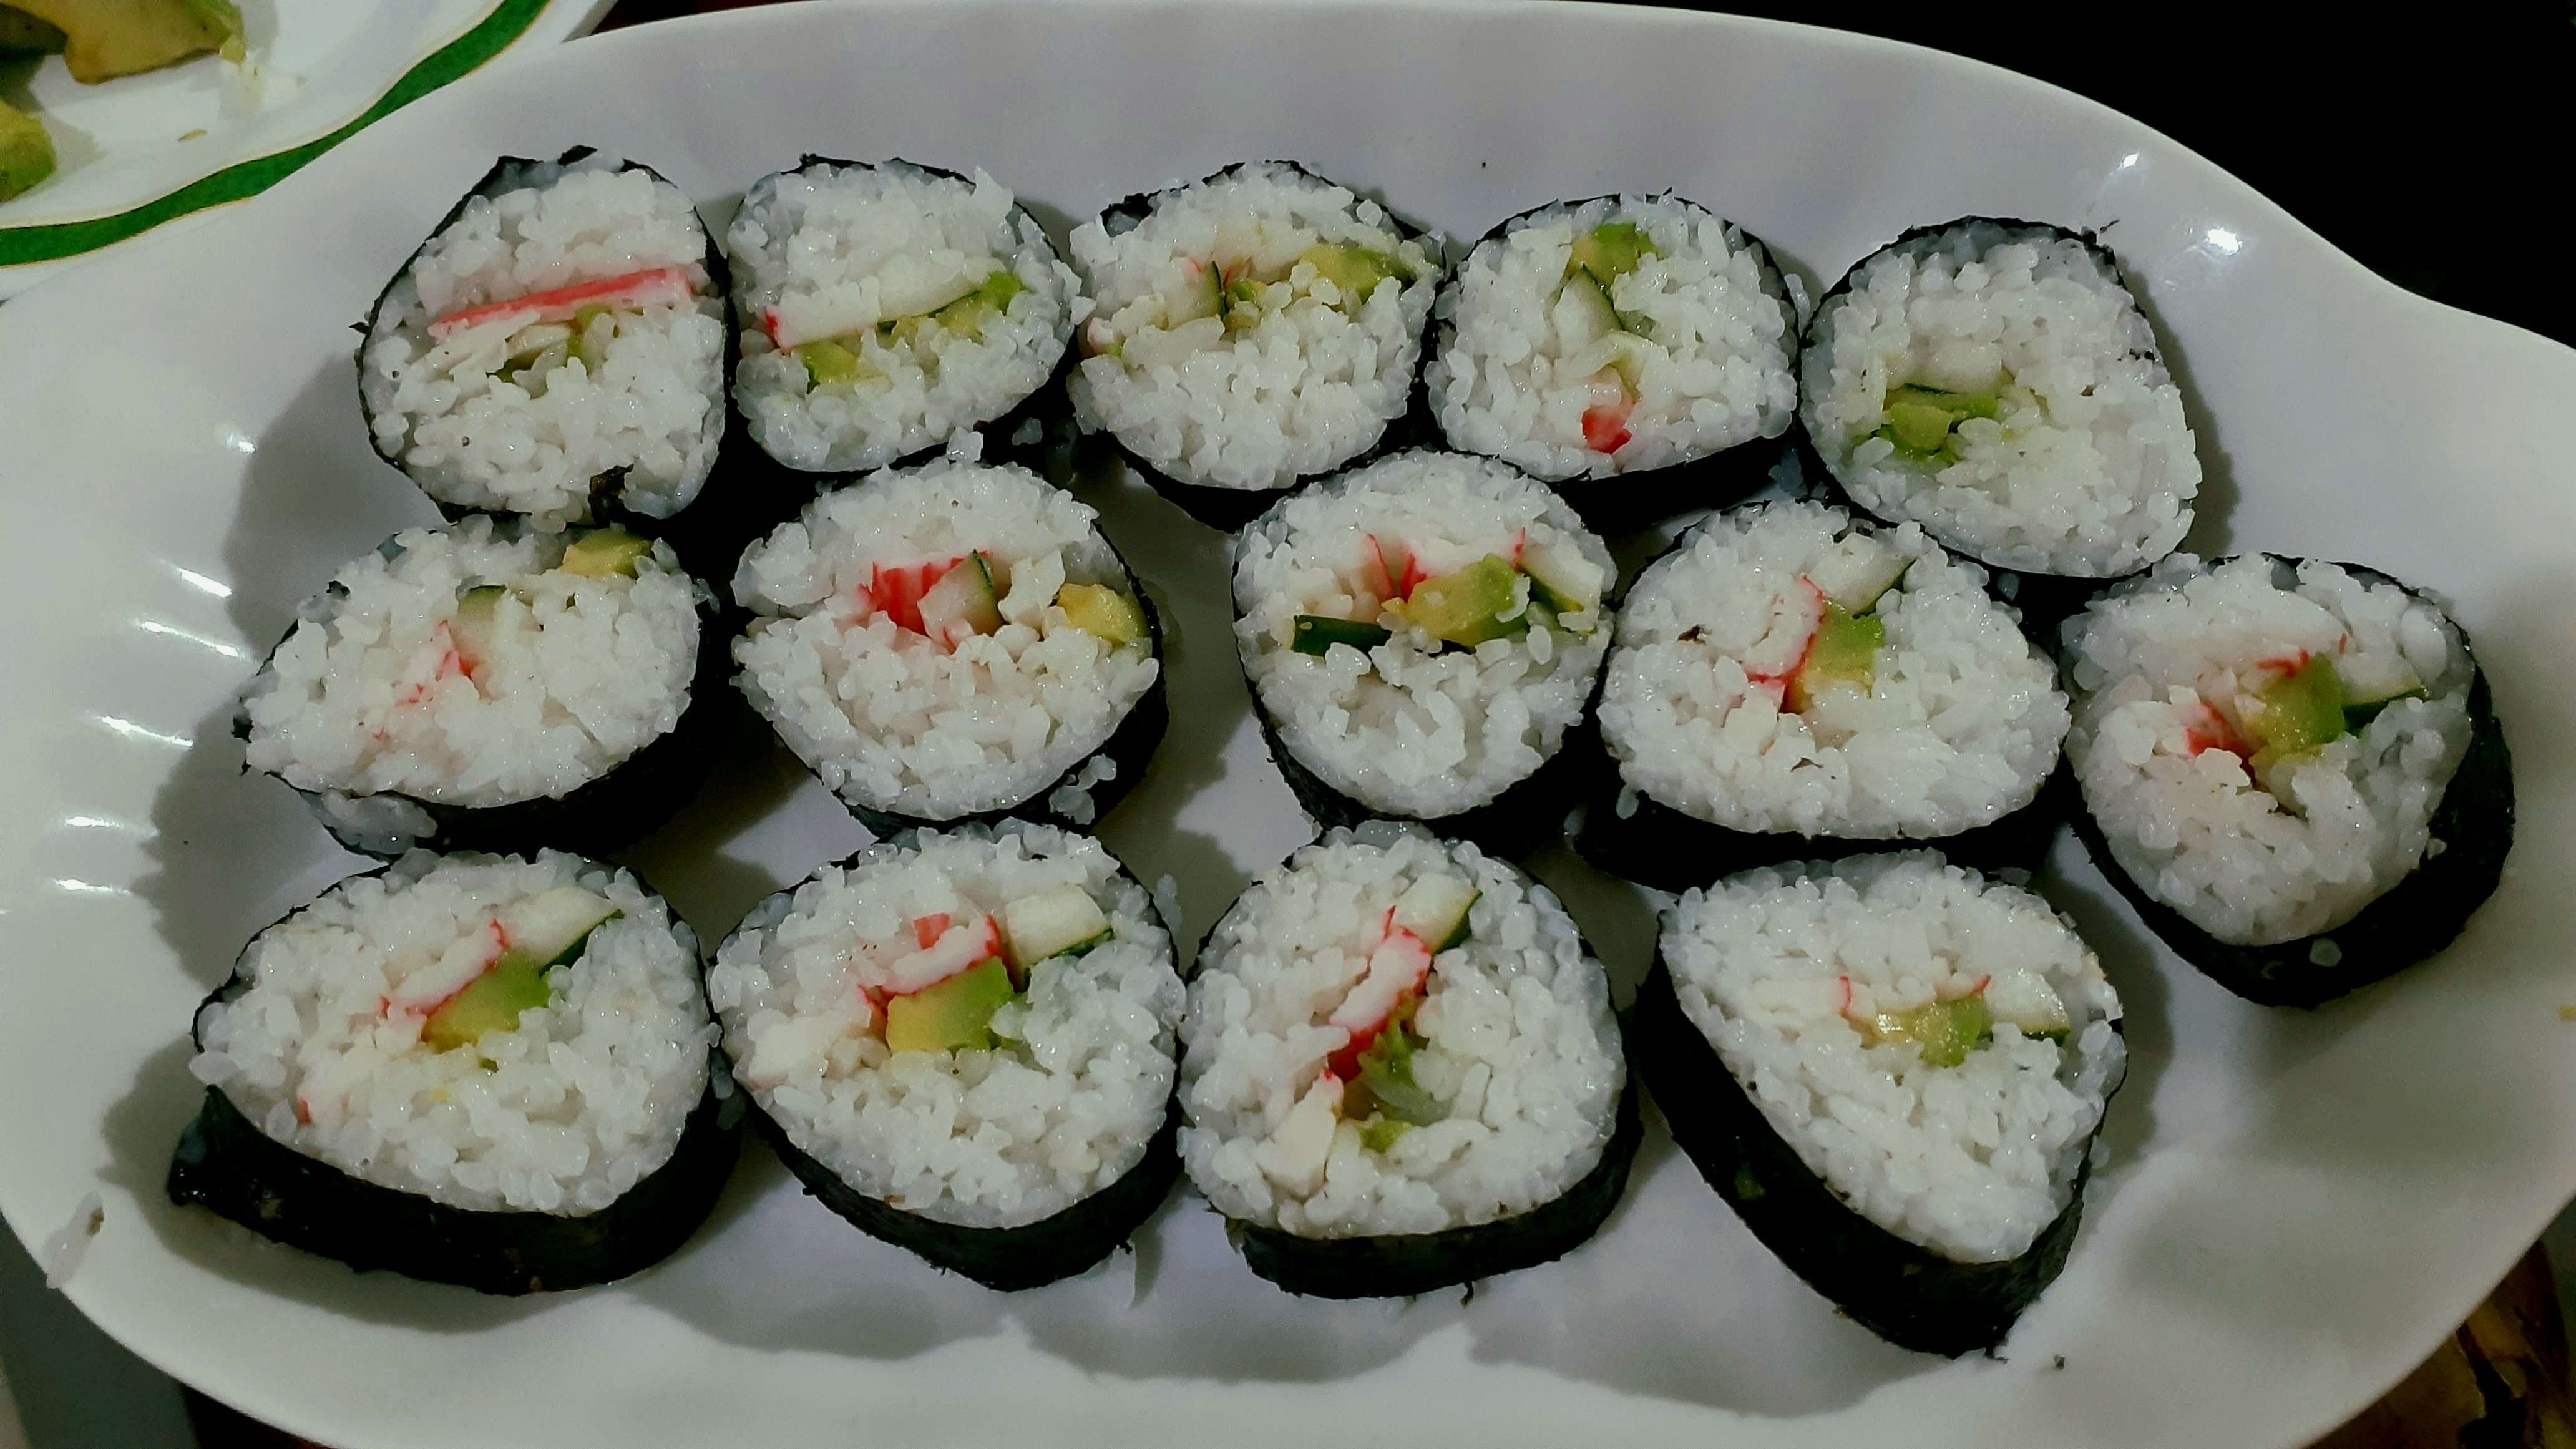
98% rice sushi, slightly squashed.
Only looks this uniformly good because I immediately ate the ones that got ruined from trying to slice with a dull knife.
Vinegared Rice Rolls
98% rice sushi, slightly squashed.
Only looks this uniformly good because I immediately ate the ones that got ruined from trying to slice with a dull knife.
Ingredients
- For rice:
- 1.5 cups Japanese short-grain rice
- 2.25 cups water
- 3 Tbsp. rice vinegar
- 3 Tbsp. sugar
- 3/4 tsp. salt
- Imitation crab sticks, sliced into long strips
- Avocado, peeled, sliced into long strips
- Cucumber, sliced into long strips, deseeded
- Nori sheets
- Soy sauce
Get the Quality kind.
Mango and sesame seeds would be a great addition to this combo.
Other Notable Materials & Equipment
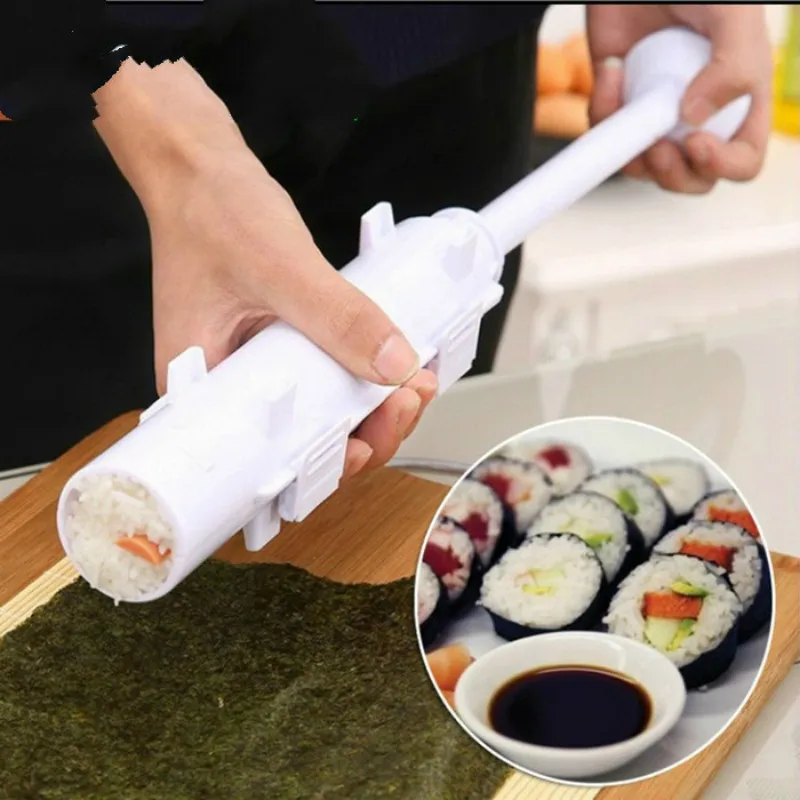
- Sushi roll maker
Optional - this was just the gift that motivated me to make sushi from scratch - Sushi rolling mat
- Sharp knife
IMPORTANT. SHARPEN THAT KNIFE. USING A DULL ONE WILL ONLY BRING SORROW.
Procedure
- Prepare rice: Rinse the rice grains twice in cool water. Soak for 20 minutes. Drain. Add the 2.25 cups of water. Cook as usual.
- Combine the vinegar, salt, and sugar. Mix with the cooked rice. Set aside and let cool until easy to handle.
- Use the sushi roll maker: Place rice on both sides of the opened tool, leaving a channel in the center. Place the filling inside the channel. Attach the plunger on one end. Close the tool. Attach cap on other end to ensure compression.
- Place a sheet of nori on top of the rolling mat.
- Remove the cap from the sushi roll maker. Twist the plunger until it can be pushed in. Push the rice roll out and on to the nori.
- Wrap the nori around the rice roll. Dampen the nori with fingers to make sure it sticks on non-rice surfaces.
- Wet the knife to keep it from sticking to the rice. Cut the roll into desired thickness.
Please do not imitate me. Cut it thicker. And don't hesitate to run the knife with water again once it starts to stick. - Serve with soy sauce
---
Looks great, tastes great, and did not fall apart despite the thinness. Unfortunately, I'm disappointed with the amount of filling I placed, and will consider this one a failure. Should probably also try to manually roll the rice myself, without the roller tool, just for the experience. And I probably should have wasabi to serve it with, in addition to the soy sauce.
-
- silverberry
- Local time: Mon May 20, 2024 2:45 am
17 posts
• Page 2 of 2 • 1, 2
Who is online
Users browsing this forum: claudebot [Bot] and 0 guests